Face Down in the Gutter at Christmas Again
Putting up and taking down Christmas lights is the pits. Information technology's dangerous. Information technology's time consuming. It'south frustrating. It sucks the Christmas spirit out of y'all. But… I honey Christmas lights. I dearest the look of them and (once they're upwards) the Christmas spirit they practise bring. Christmas is my favorite flavour of the yr but the lights… bleh.
Beneath you'll discover a complete tutorial on what I accept establish to exist the least expensive commercial option for what are called permanent holiday lights. The concept is really elementary – put up smart, easily controlled Christmas lights that are programmable with whatever smartphone and never have them down. They're nigh invisible during the solar day or night just when y'all turn them on they look amazing.
And you never accept to accept them down. Ever.
Afterward researching all of the major brands out there that sell these, I found that EverLights was the best choice. They were the least expensive, they have a DIY option (as well as professional installers all beyond North America), they have the almost up to appointment app with tons of features and they run a backup data line to every lite and so that if something happens to one, it doesn't affect the rest. If you lot're interested in Everlights, be sure to head over to https://fleck.ly/everlights-lrn2diy and utilise coupon code NILS48933 to salvage $100 on orders over $1200!
Computing the Cost
Interested? I've put together an Everlights Permanent Holiday Calorie-free Calculator where you can dial in your roof measurements and get a quote for all needed materials.

Installation Details
Considering I have installed these myself, I tin can tell you exactly what is involved. As yous can imagine, this isn't something you tin do in a couple of hours. Program on spending a full day on the install, more if you have a complicated meridian of your roofline or if you run into complications but before you despair – I promise y'all the feeling of beingness completely done with Christmas lights (and other vacation lights) FOREVER is zippo brusque of incredible. My wife asked me what I thought of the installation procedure and I replied "It was fourth dimension consuming but I'Thou Washed! FOREVER! NEVER Once again!". I felt similar a weight had been lifted off my shoulders.
OK – here'southward how to install these bad boys, including the tips I learned along the way.
1. Planning
First things first. You need to get measurements of each of the sections of roofline, gutter, eve or other areas that you desire to put lights on, also as the rough altitude of any open up areas between them where y'all'll demand to run unlit wires. Y'all can see in the example below, that this house has a total of 99′ (xxx meters) of lighted area and will crave nearly 19′ (five.8 meters) of unlit lines.

Yous'll detect that I have divided the measurements into those that need channels (a metal track that has predrilled holes for the lights to pop into) and those that practice not. You can install your EverLights into several trims – into the superlative lip of a gutter, into your drip edge, or into purchased channels that can then exist fastened onto your soffits, fascia or drip border. I'll bear witness examples of this so you tin can decide what works all-time for your awarding.


As you can run into, there are tons of options for installing this and yous can choose what works best for you lot. Continue in listen that you tin always use the included o-rings to seal the lights as y'all install them, so you choose whichever installation option(s) work best for you. For my home, I decided to install straight into the gutter for some and and so I tucked channel into the drip edge for the residuum. If you want the lights to shine on the exterior of your domicile too, consider pointing the lights downwards, like in the last two options shown above.
In one case you take determined whether or not to use aqueduct and how to install it, you lot'll need to measure each area of your roof and eves where lights will be installed. I constitute it easiest to take a photograph of the house, and write downwardly the measurements of each department. And so, you lot need to count the areas where the lighting will split into two or more than directions. Keep in mind that all of the lights need to flow in one direction the unabridged time. As you can see in the illustration above, some of the eves are split from the principal line, and and then they just terminate at the end of the eve.


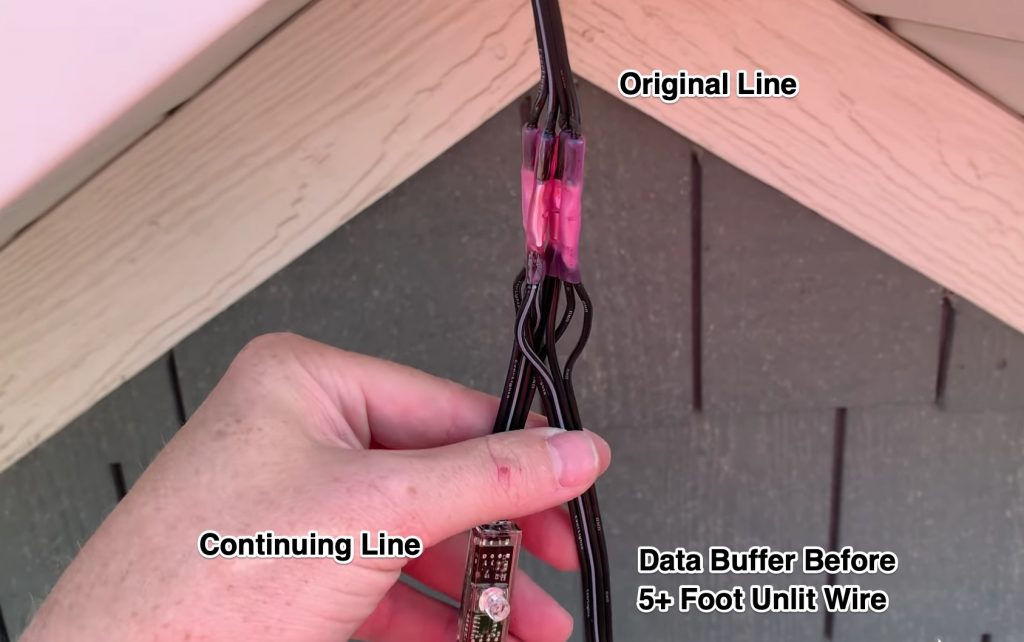
Wherever yous accept a separate, you'll need to purchase Y-Split Connectors. You'll likewise demand to buy a data buffer for every department of unlit wire that is v or more anxiety long. The data buffer tin be installed directly after the Y-carve up, if needed. Another thing to consider is that you'll need an additional power supply for every 75 anxiety of lighting. This tin be a tricky one if you don't have an outlet well-nigh the 75 foot mark. You may need to run an extension plug in that example.
You'll demand to identify where your power from the beginning of the line volition come from. It'due south common to run the power from an outlet in the garage and drill a hole in your garage wall through the exterior of your home about where the line volition showtime. This may sound intimidating, but it's actually simpler than you lot might think.
Required Tools
As far as tools required for this job, you'll need the following:
- Ladder
- Cordless Drill
- Butane torch (minor torches price $10-fifteen – a lighter could work but I wouldn't recommend a cheap ane – the butane torches worked great)
- Tin snips
- Exterior screws for fastening the channel to the house
- Longer 3/eight″ drill bit (in case y'all need to run a line from the inside of your garage to the outside of your house)
- Outside caulk and caulking gun
- Wire strippers
- Color matched spray pigment (optional),
- Needle nose pliers or crimpers
Getting Started with the Installation
3 Must Follow Rules for a Proper Install:
1. Never cut any wires with the lights powered on.
2. Connect like-to-like wires. Always cheque the labels.
3. Go on the management of the lights abiding. Look for the arrows on the dorsum of each low-cal.
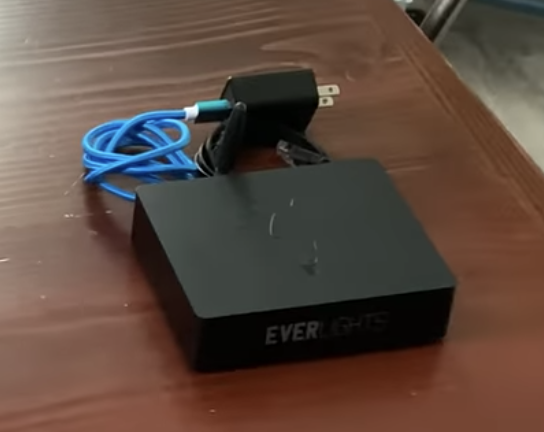
With the tools on mitt and your programme in place, information technology's fourth dimension to get started. The first thing to do is to connect the Network Bridge to your ethernet, with the included ethernet cable. Y'all'll too demand to connect information technology to power via the included 5 volt adapter.
Next, you will wire together the power adapter to the span, and then the span to a length of unlit wire. The unlit wire should be long enough to accomplish the showtime calorie-free in your run. You can use regular wire caps for this, if these connections are inside the garage or business firm. Otherwise, use the estrus shrink butt splices.
If needed, feed the unlit wire through the hole that you drill in the garage to go the line exterior. If you do accept to drill a hole, be certain to seal information technology with exterior-grade caulk to weather proof.
At present, depending on the whether you're using channel or not, you can either connect the lights straight, or fix your first department or channel. If you're running the lights straight, utilize the template tape to the area you'll exist lighting. Following the template, drill holes in the gutter or drip edge as indicated. One time the holes are drilled, you tin install the lights into the holes and then employ the provided caps to secure the calorie-free into identify. Optionally, install the O-rings to seal off the holes.
Splicing Lines Together
When yous need to splice 2 or more lines together, it's of import to match up the lines with one another, every bit well as the direction indicated on the back of each low-cal. Insert one finish of the wire into a heat shrink butt splice, and crimp information technology with needle nose pliers or crimpers. Insert the other finish into the barrel splice and crimp besides. One time you've done this with all iv wires, you'll need to seal them using the torch. For this, be certain to start from the center of the splice, and work your way outward to become a proper seal. I always recommend giving a small tug on the line before sealing them, merely to make sure that the connexion is strong. The goal is to see a full seal on both ends of every wire connection.
Working with Aqueduct
When I talked to the professional installer about how they handle sealing the ends of the channels, they replied "Origami". In other words, you make several cuts to the ends of each channel, and and so fold information technology in a way that it seals upward the end. Below you lot'll find some illustrations of how this can be done. If you're new to cutting metal channel, I've institute that a pair of $seven tin snips and a pencil are all you'll really need.
- Mark the channel as shown, leaving at least 2 inches on either side of the pre-drilled hole.
- Cut on the indicated lines.
- Fold as shown.
With channel, whenever possible, constrict the lines underneath the channel or other trim that can be used to hide information technology.
Power Boosters
When running lights for 75 or more feet, you'll demand to add a power booster to your line earlier the 75 foot mark. This helps to ensure fully lit, brilliant lights the entire fashion. The power booster has only a positive and ground wire. These two wires need to be connected to the existing line, and the data and back up information wires don't need to be touched.
Finishing the Job
When you're at the very end of your line, cut 2 of your wires one length, and the other ii wires a few inches shorter. Yous tin cap these off with either liquid electrical tape, or h2o proof wire caps.
With your control unit of measurement connected to your cyberspace, download and install the Everlights app for IOS or Android and follow the setup instructions.
Congratulations! Yous never take to put upwardly Christmas lights again! FREEEEEEEEDOM.

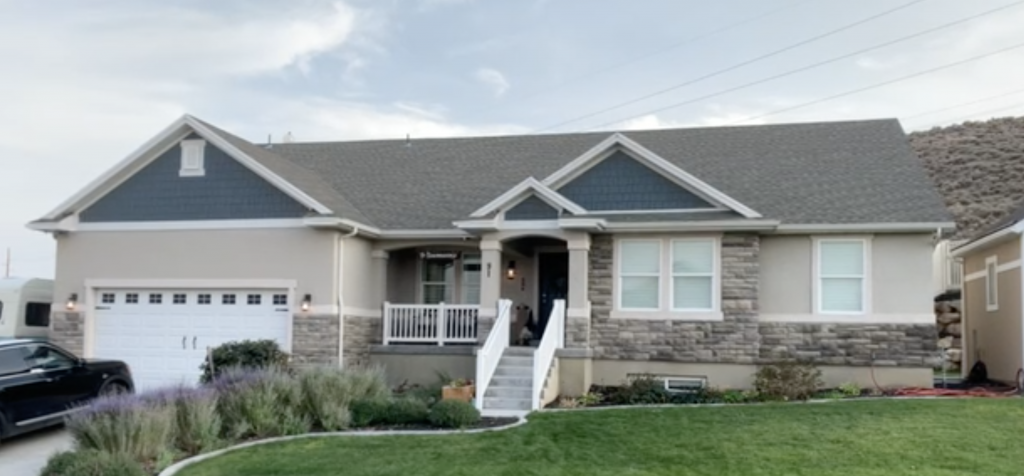
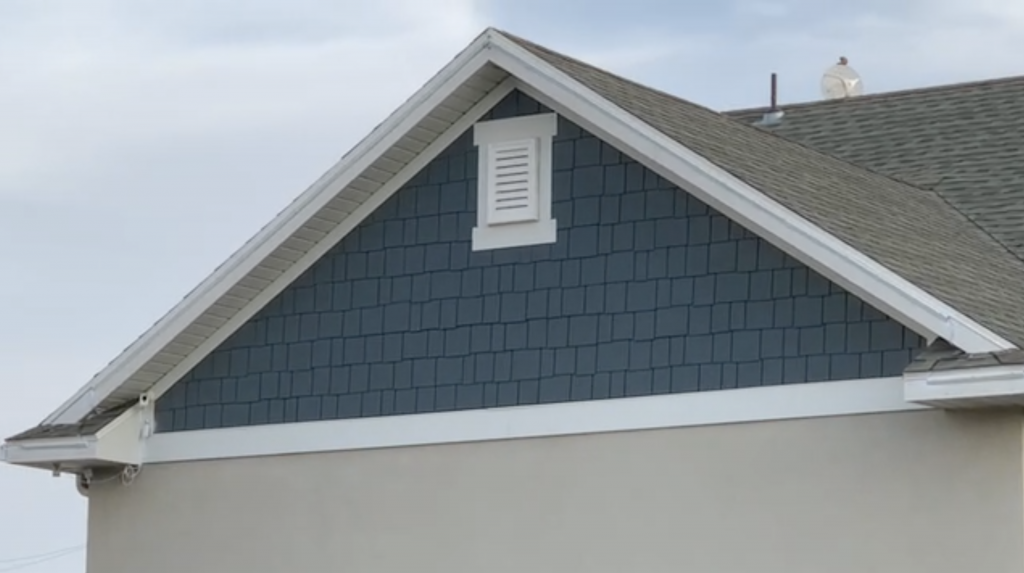
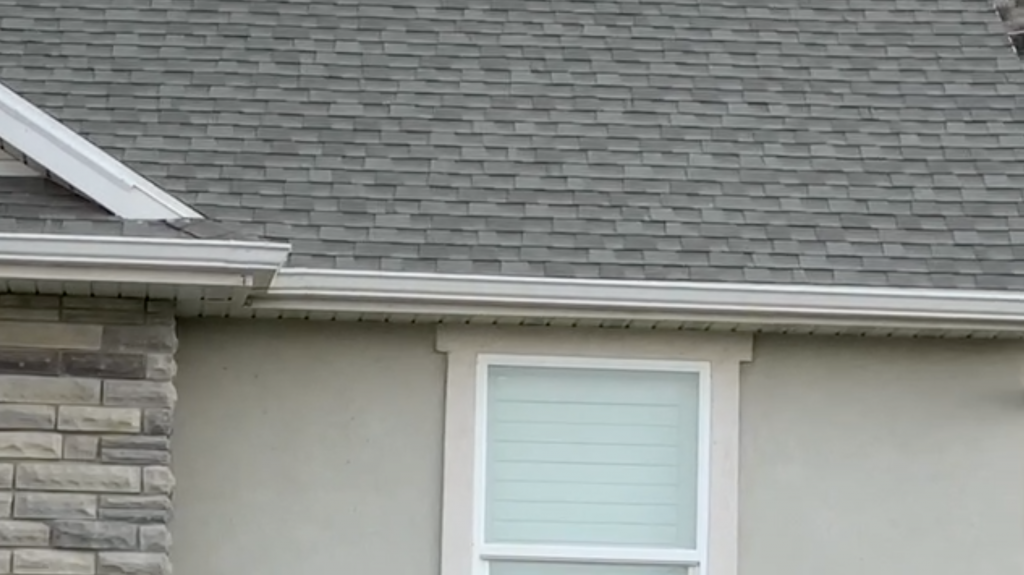
DURING THE DAY:
In instance you're interested, this is what the lights look like during the twenty-four hour period. They're practically invisible.
mascarenasahme1941.blogspot.com
Source: https://lrn2diy.com/permanent-christmas-lights/
Belum ada Komentar untuk "Face Down in the Gutter at Christmas Again"
Posting Komentar